

The main window
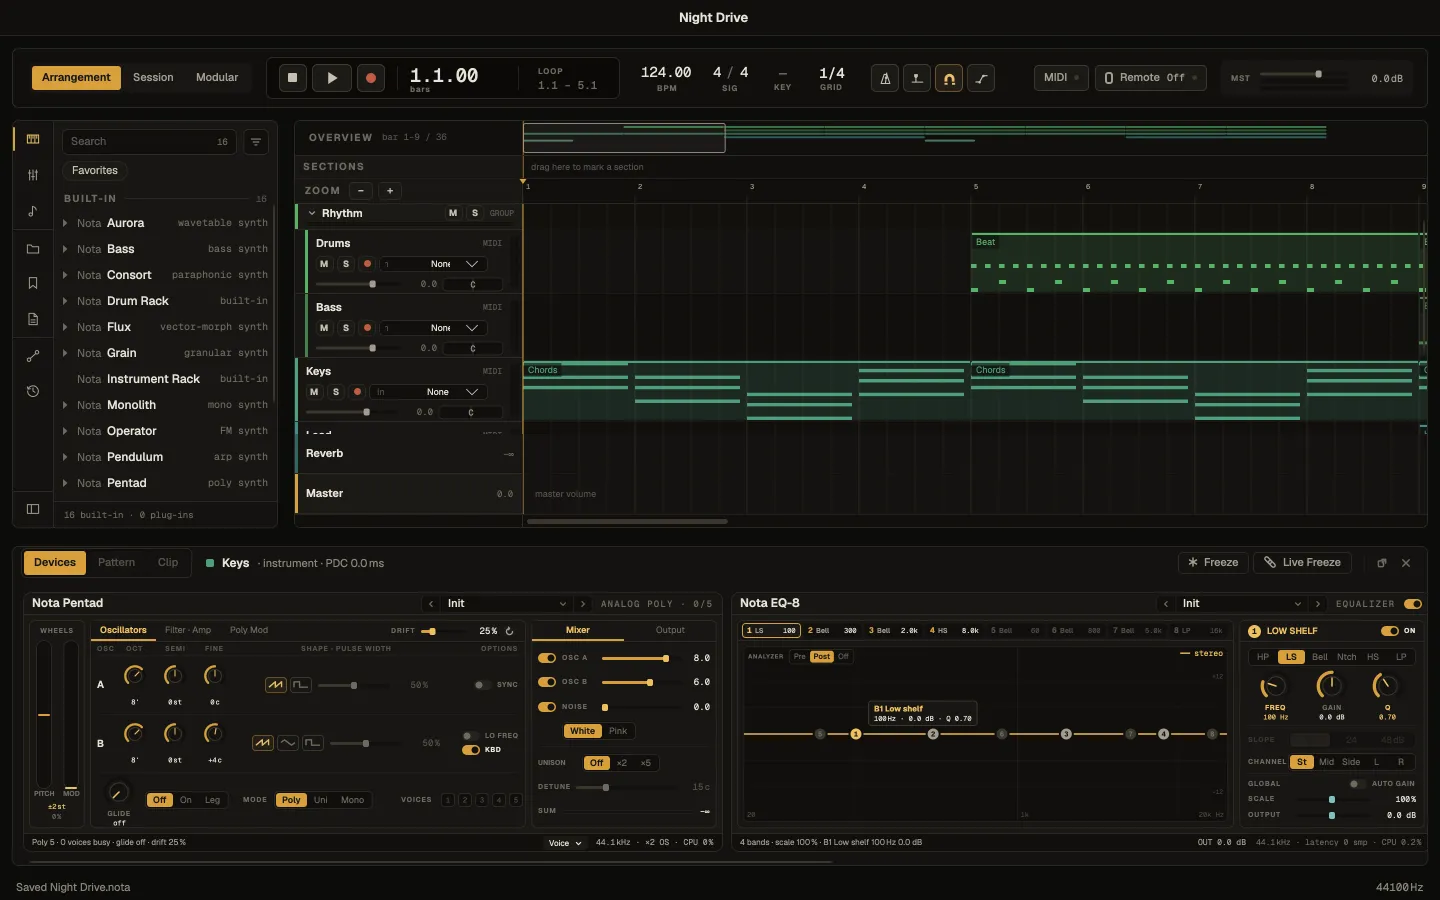
Everything in Nota happens in one window. It has four areas: the transport bar along the top, the browser on the left, the view in the middle, and the detail panel underneath, which opens when you select a track or a clip.
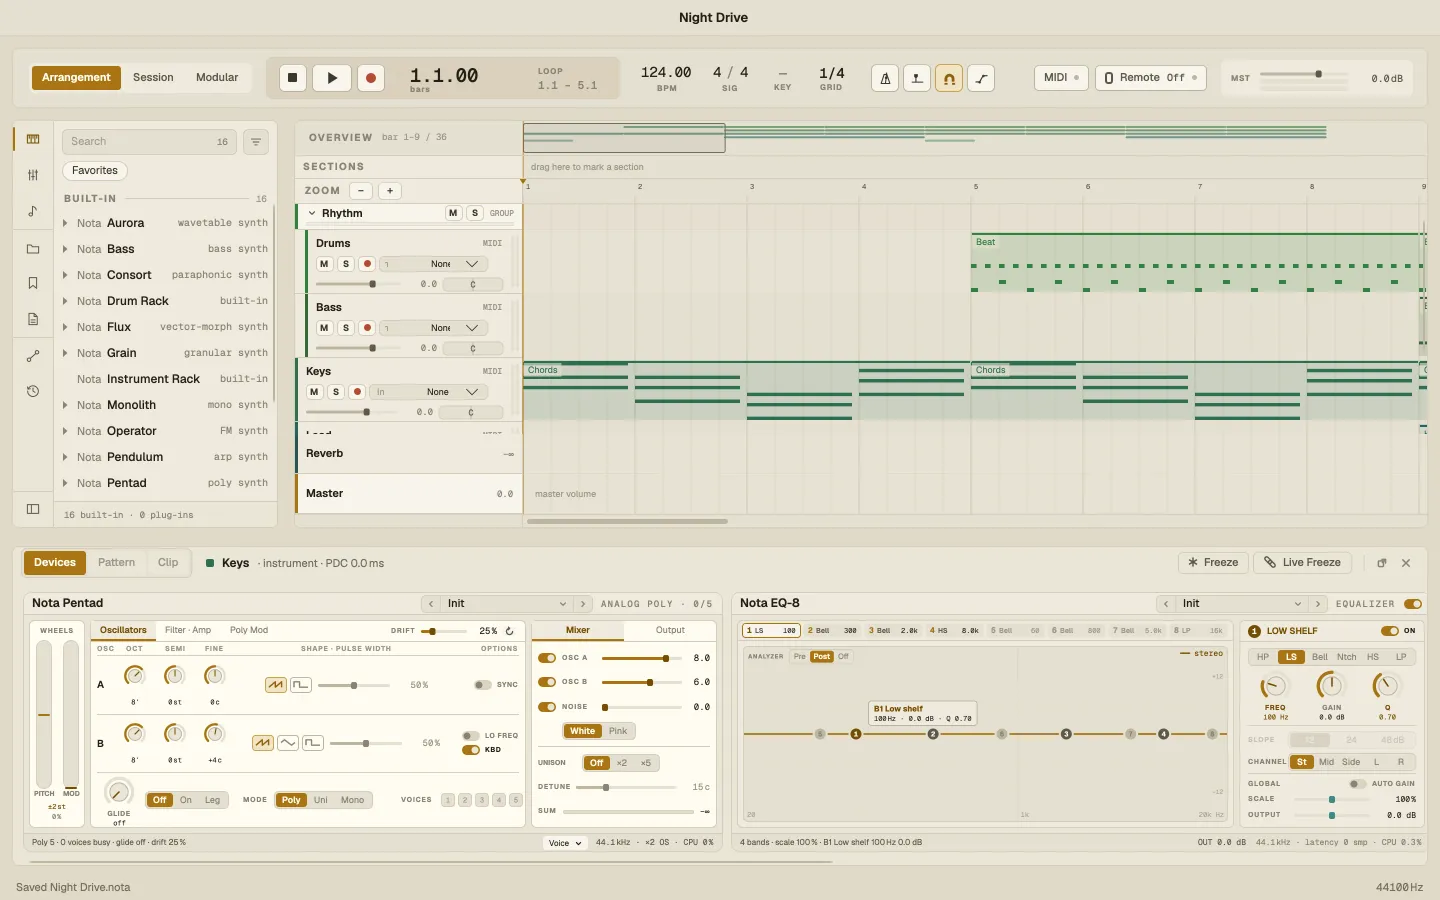
Transport bar
Section titled “Transport bar”

From left to right:
- Arrangement · Session · Modular — switch the view in the middle.
- Stop, Play, Record and the position — click the position to switch between bars and minutes:seconds.
- LOOP — the loop range set on the ruler.
- BPM, SIG (time signature), KEY (project key) and GRID (the snap grid).
- Metronome, follow playhead, snap to grid and automation lanes.
- MIDI — map a hardware controller to any control (MIDI Learn).
- Remote — play and control Nota from your phone (Nota Remote).
- MST — the master volume and meter.
Every control is explained in Transport.
Browser
Section titled “Browser”The browser holds everything you can bring into a project. The icons down its left edge are its tabs:
| Tab | What’s in it |
|---|---|
| Instruments | Nota’s instruments and your plug-in instruments, with their presets |
| Audio effects | Built-in effects and plug-in effects |
| MIDI effects | Arpeggiator, chords, scales and other note processors |
| Files | Your sample library and any folder you add, with smart tags |
| Presets | The presets you saved yourself, by category and device (factory presets sit under each device in the first three tabs) |
| Projects | The projects in your projects folder |
| MIDI map | Every control you’ve mapped to a controller or phone |
| History | The versions of the open project |
Double-click an instrument to add a track with it; double-click an effect to add it to the selected track; or drag either where you want it. The button at the bottom of the rail collapses the browser. More in The browser.
The view
Section titled “The view”The middle of the window shows one of three views:
- Arrangement — the song on a timeline, left to right.
- Session — a grid of clips you launch live, scene by scene.
- Modular — a track’s devices as a graph you can patch.
The Mixer opens in a window of its own: View ▸ Mixer (⌘⇧M).
Detail panel
Section titled “Detail panel”Select a track and its devices appear in the panel at the bottom; double-click a clip and it opens there for editing. The tabs at its top left switch between Devices, Pattern (the step pattern of a Drum Rack clip) and Clip — Tab cycles them. On the right, Freeze and Live Freeze render a track to audio to save CPU, the ⧉ button moves the panel into a window of its own, and × closes it.
Menus and the status line
Section titled “Menus and the status line”- File — new, open, save, versions, import and export.
- Edit — undo, clipboard, splitting, consolidating, duplicating time.
- View — the mixer, Connect Phone…, and toggles for the browser, the detail panel, the overview, the sections lane, following the playhead and clip names.
- Transport — play, record, loop and metronome.
- Help — Documentation (this manual), What’s New and About.
The line along the bottom of the window reports what just happened (“Saved Night Drive”, “Added Nota Volt”) and shows the audio sample rate.