

Audio clips and warp
Audio gets into a project by dragging files from the browser or your file manager, with File ▸ Import audio…, or by recording. Double-click an audio clip — in the Arrangement or a Session slot — to open it in the clip editor.
Tempo and key when you drop a file
Section titled “Tempo and key when you drop a file”Nota analyses every file it imports. A loop (or a long take with a clear tempo) is warped to the project tempo as it lands, and the status line says so — “loop warped 124 → 120 BPM”. With Transpose to project key on (the Files tab’s ⋮ menu), it is also moved to the project key the shorter way round. A one-shot — a kick, a hit — is never warped.
Long files decode in the background: the track appears straight away and its waveform fills in.
Sample
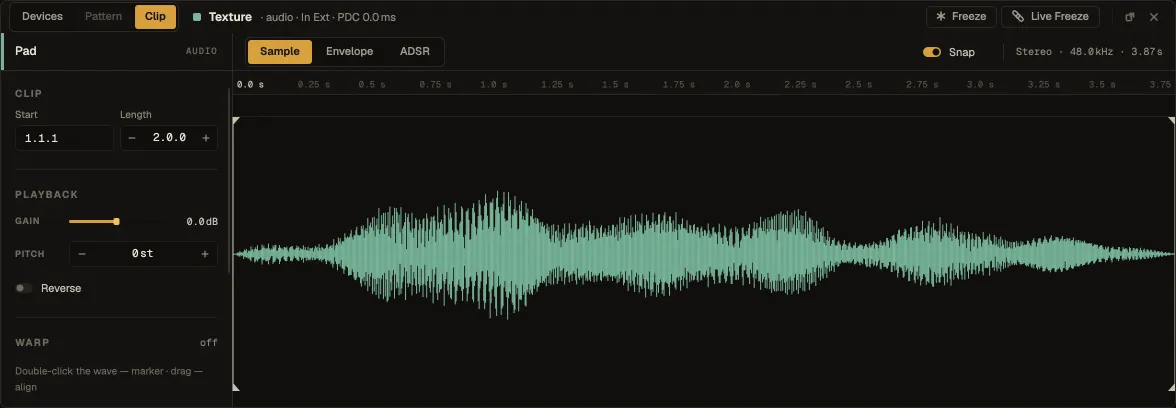
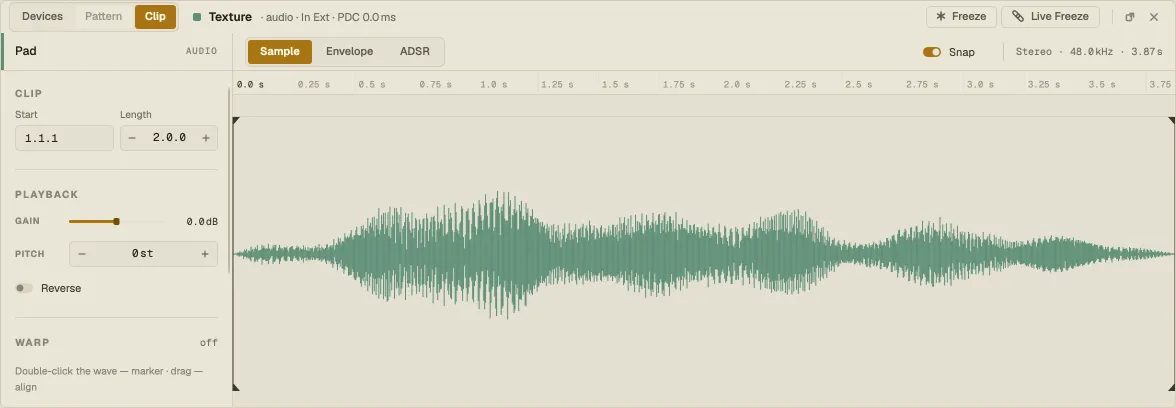
Section titled “Sample”The Sample tab shows the waveform with the part of the file the clip plays.
- Clip — Start and Length. Drag the brackets on the waveform to trim; with Snap on, they land on the beat grid.
- Playback — Gain (drag or double-click to type) and Pitch in semitones. Reverse plays the clip backwards.
Warp stretches the audio to the project tempo without changing its pitch, and keeps it in time when you change the tempo later. Choose how it stretches:
| Mode | Best for |
|---|---|
| Beats | Drums and percussive loops — keeps the hits sharp |
| Tones | Monophonic, pitched material — vocals, bass, leads |
| Texture | Pads, ambiences, noisy sounds |
| Re-Pitch | Like tape: speed and pitch change together |
| Complex | Full mixes and dense material |
| Complex Pro | Full mixes, with more care for formants |
Detect tempo reads the file’s tempo and conforms it to the project. For finer control, use markers: double-click the waveform to pin a marker, then drag it to line that moment up with the grid. To transients pins a marker on every hit, so a drum loop locks to the grid.
Envelope
Section titled “Envelope”Envelope draws Volume and Pan curves across the clip. Click to add a point, drag to move it, right-click to delete it.
ADSR shapes the clip’s start and end: Attack fades it in, Decay and Sustain set how it settles, Release fades it out. You can also shape it right on the timeline: hover an audio clip and drag the handles in its top corners (or the dot that appears). Double-click a handle to reset that stage.
On the timeline
Section titled “On the timeline”Right-click an audio clip for Reverse, Separate Stems… (split it into drums, bass, vocals and the rest — see Separate Stems) and Convert (turn its melody, harmony or drums into MIDI — see Convert audio to MIDI).
Drag an audio clip onto a track with a Sampler, Nota Grain, Drum Rack or Instrument Rack and its audio loads there; drag it out of the Arrangement and it becomes a sample you can drop anywhere — see Copy, paste and drag.