

Tracks
Kinds of track
Section titled “Kinds of track”| Track | Holds | Plays through |
|---|---|---|
| Instrument | MIDI clips | An instrument — built-in or a plug-in — then its effects |
| Audio | Audio clips | Its effects |
| Return | Nothing — it receives sends from other tracks | Its effects (a shared reverb or delay) |
| Group | Other tracks, folded under it | Its effects, as a submix of its tracks |
| Master | The sum of everything | Out to your speakers |
Return tracks and the master sit at the bottom of the Arrangement, below the scrolling tracks.
Adding tracks
Section titled “Adding tracks”- Double-click an instrument in the browser — a new instrument track with that instrument and an empty one-bar clip.
- Drag an instrument, a sample or a loop from the browser onto the empty space below the tracks. Dropped onto an existing instrument track instead, an instrument replaces that track’s instrument; a sample dropped on an audio track lands on it.
- Right-click the empty space below the tracks — Add instrument track, Add audio track, Add return track. A track’s own menu has the same under Add track: the new track goes right after it (or inside it, if it’s a group).
The track header
Section titled “The track header”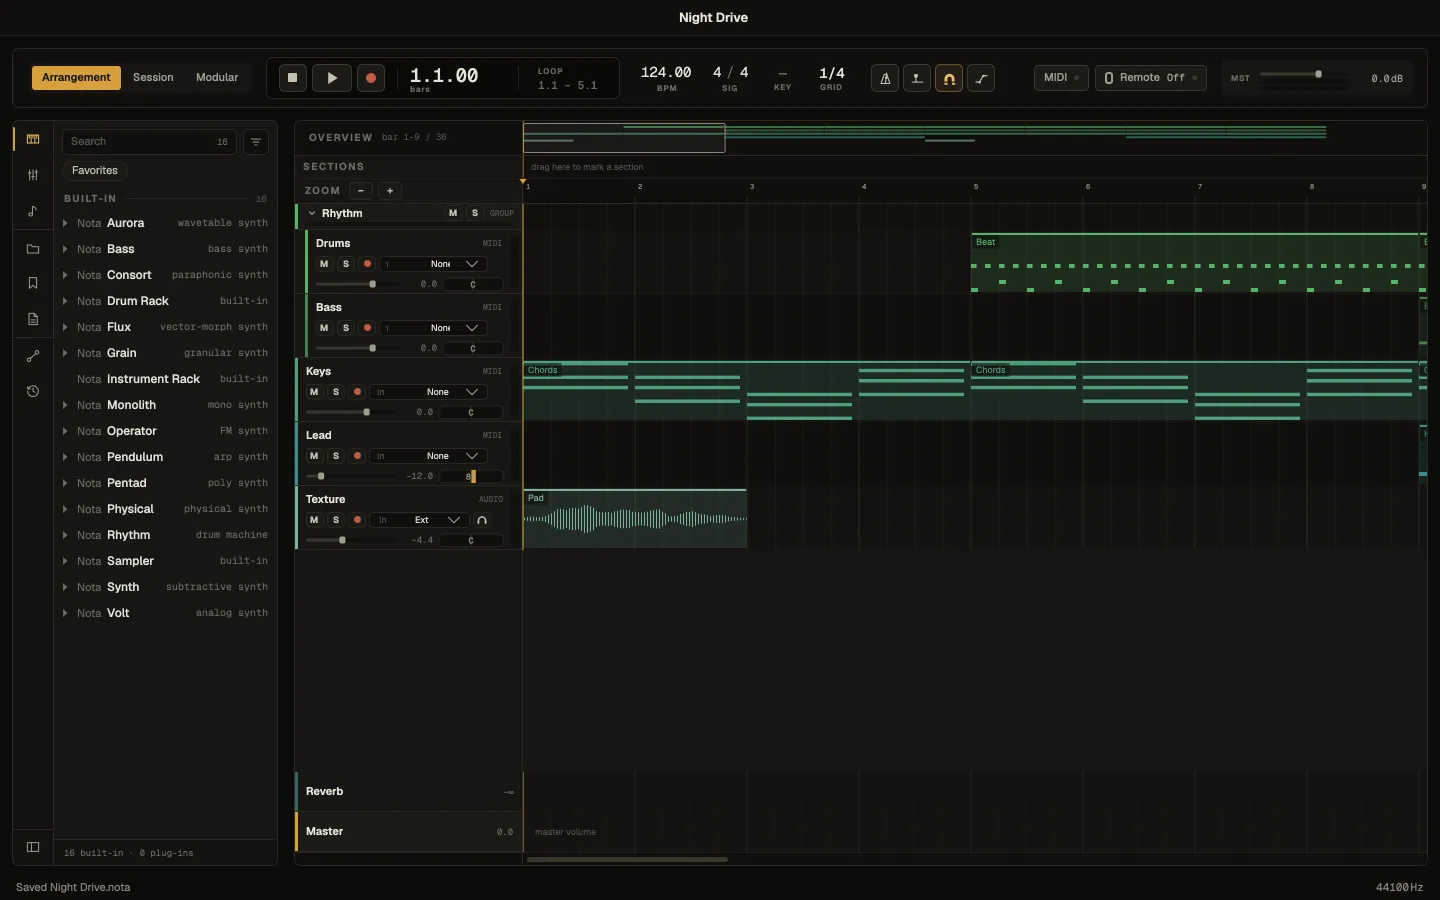
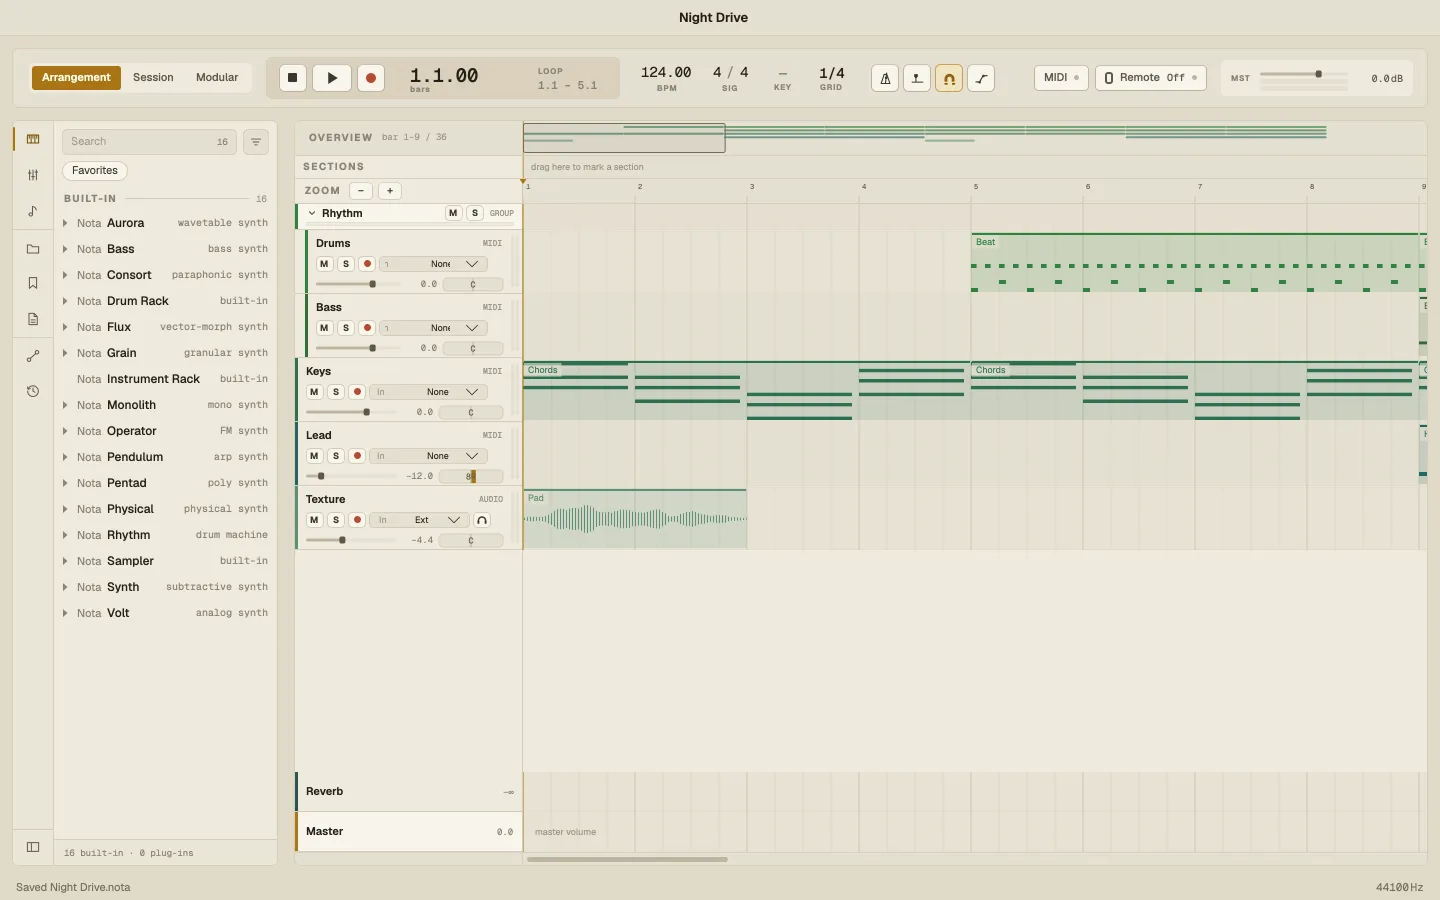
Each header carries the track’s name and type, and:
- M mute and S solo,
- ● arm — the track records when you press Record,
- the input — for an audio track the hardware input; for an instrument track MIDI from another instrument track (layering — see below),
- a volume fader and a pan bar, with the track’s meter. Double-click either to reset it.
Drag a header by its name to move the track. The selected track’s devices open in the panel at the bottom.
Selecting several tracks
Section titled “Selecting several tracks”⇧-click headers to build a selection (or click a header and press ⌘A). Then ⌘C ⌘X ⌘V copy, cut and paste them, ⌘D duplicates them and Delete removes them — each as one undo step. Right-click the selection to group, colour or freeze all of them at once.
Names and colours
Section titled “Names and colours”Right-click a header ▸ Rename… to name a track; until you do, an instrument track is called after its instrument and an audio track “Audio” and its number. Color offers nine colour families — Drums, Perc, Bass, Keys, Texture, FX, Brass, Vox, Return — each in three shades. A track you haven’t coloured takes its group’s colour, one shade per sibling, so a group reads as one family.
Groups
Section titled “Groups”Select tracks and press ⌘G to put them in a group; ⌘⇧G ungroups. A group is a submix: its fader, effects, mute and solo act on all its tracks together, and groups can sit inside groups. Its row stays slim — a titled bar with its arrow, mute, solo and level — and opens to the full controls when you select it. Click the arrow to fold the group’s tracks away.
Routing
Section titled “Routing”- Sends — every track can send part of its signal to each return track: turn up its send in the Mixer or the Session view.
- MIDI from — an instrument track can play the MIDI of another instrument track through its own instrument, to layer two sounds. It gets the notes after the source’s MIDI effects, so an arpeggiator on the source drives both. Recording on the receiving track prints those notes into a clip.
- Record input — right-click ▸ Record input chooses what an audio track records: a hardware input, the master, or another track.
Freezing a track
Section titled “Freezing a track”A heavy instrument or effect chain can be rendered to audio to free the CPU:
- Freeze (in the detail panel’s header) renders the track and puts its devices to sleep; it still plays exactly the same. Right-click Freeze for Flatten, which turns the track into a plain audio track for good.
- Live Freeze bounces to a linked audio track below and puts the source to sleep. Edit wakes the source; Done re-freezes it.