

Automation
Automation makes a value move over time — a filter opening up, a fade, a send swelling into a drop. Any knob or fader in Nota can be automated: track volume and pan, every parameter of a built-in device, plug-in parameters, MIDI effects.
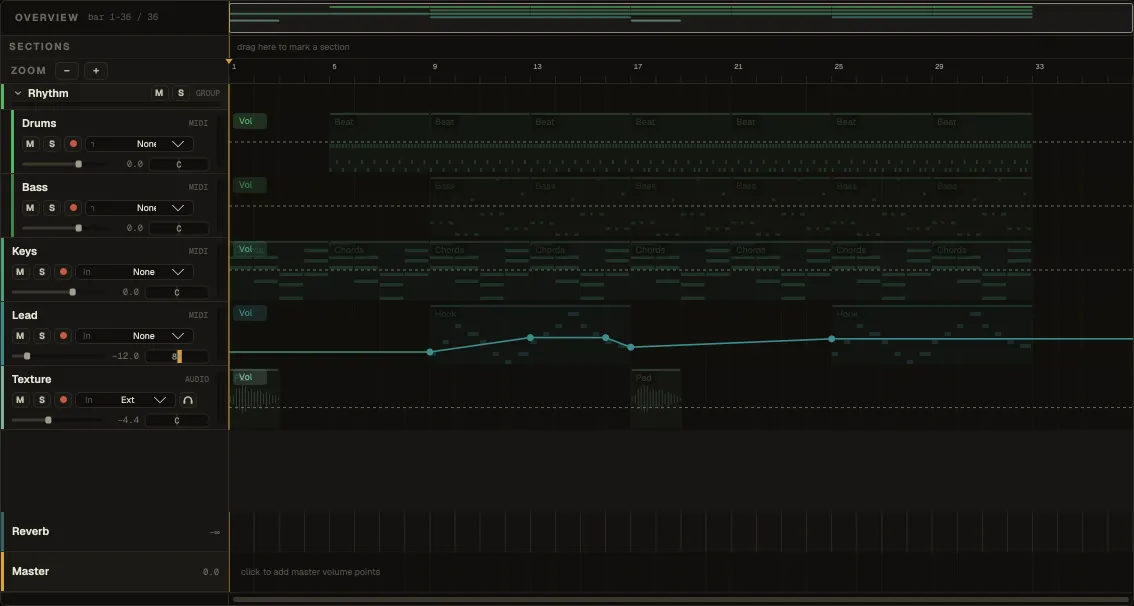
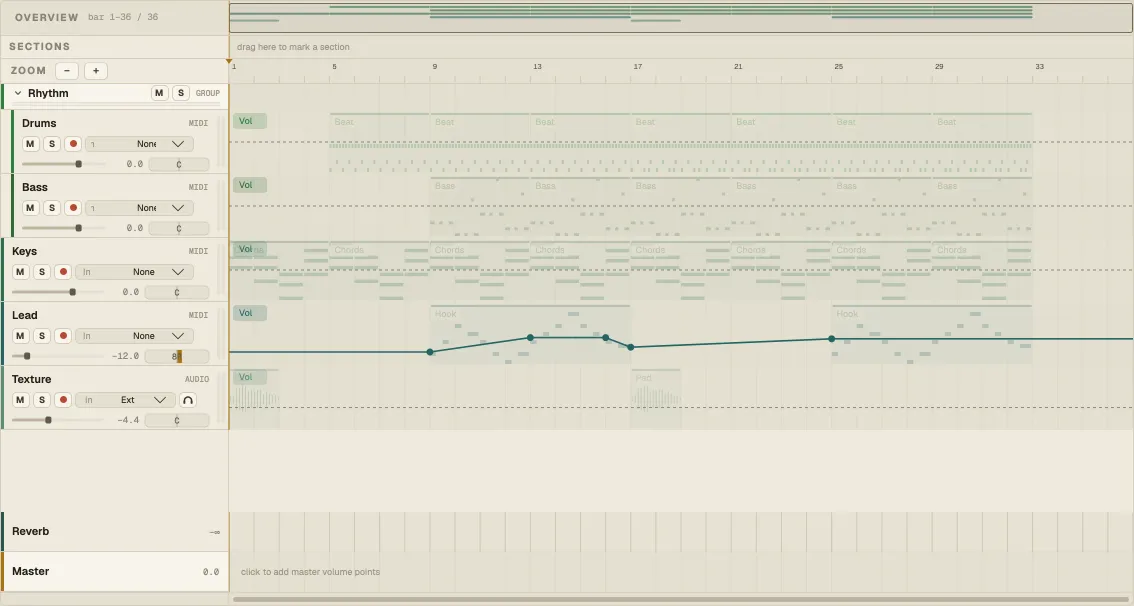
Showing the lanes
Section titled “Showing the lanes”Click the automation button in the transport bar (⌘⇧A). Each track’s lane shows one parameter, picked with the pill at the start of the lane — click it and choose from the list. Parameters that already carry automation are marked with a brass dot and listed first.
While automation mode is on, touching any knob or fader of a track — on a device, a plug-in or the mixer — switches that track’s lane to it.
Drawing
Section titled “Drawing”| Do this | To |
|---|---|
| Double-click the lane | Add a point (also between two points) |
| Drag a point | Move it |
| Double-click a point | Delete it |
| ⌥-drag a segment | Bend it into a curve |
| ⇧-drag | Select a range of the lane |
| ⌘C ⌘X ⌘V · ⌘D | Copy, cut, paste · duplicate the selected range |
A single click moves the playhead, as anywhere else in the Arrangement. Right-click the lane for Copy, Cut, Paste and Delete automation.
Recording automation
Section titled “Recording automation”There are no modes to set. Press Record and move a control: its lane records what you do. A control you move with the mouse stops writing when you let go; a hardware knob, fader, stick or trigger keeps writing its last value until the transport stops.
Taking over by hand
Section titled “Taking over by hand”Automation always plays back. If you move an automated control while not recording, your hand wins: that lane is overridden and stops pulling the knob back. The button next to the automation button lights up while anything is overridden — click it to hand every lane back to playback.
Automation moves with the clips
Section titled “Automation moves with the clips”When you move clips, the automation under them moves along. Moved to another track, a clip takes only its Volume and Pan automation — device automation stays on the track it was written for. Edit ▸ Lock Envelopes pins all automation to the timeline instead, so you can rearrange clips without dragging it along.
Other kinds of envelope
Section titled “Other kinds of envelope”- The master volume has its own lane on the Master row — click it to add points.
- A MIDI clip has Velocity and Volume envelopes inside the clip — see Piano roll.
- An audio clip has Volume and Pan envelopes and an ADSR — see Audio clips.