

Your first track
This walk-through takes you from an empty project to a short loop exported as a WAV file. It uses only what comes with Nota — no plug-ins, no samples.
1. Start a project
Section titled “1. Start a project”On the start window click New project (or press ⌘N in the main window). You get an empty Arrangement at 120 BPM in 4/4.
2. Add an instrument
Section titled “2. Add an instrument”-
In the browser, open the Instruments tab (the keyboard icon at the top of the rail).
-
Double-click Nota Volt. Nota adds an instrument track with Volt on it and an empty one-bar MIDI clip at the start of the song.
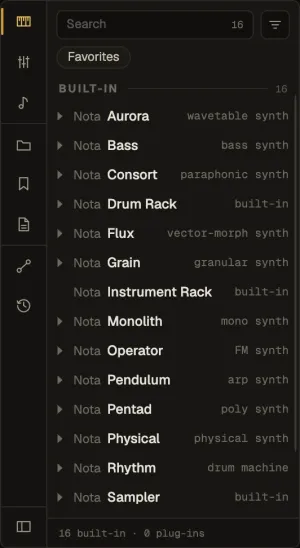
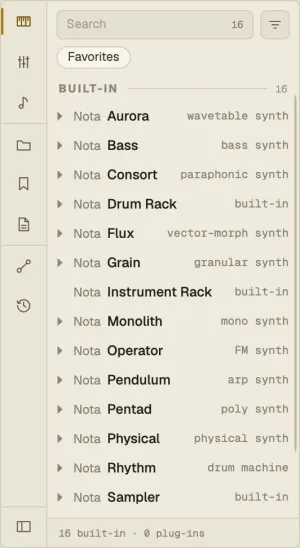
Want to hear what an instrument sounds like first? Select it and press the play button in the preview strip at the bottom of the browser.
3. Write a few notes
Section titled “3. Write a few notes”-
Double-click the clip on the timeline. It opens in the Clip tab of the panel at the bottom.
-
Double-click an empty spot of the grid to add a note there; double-click a note to delete it. Drag a note to move it, drag its edge to make it longer or shorter.
-
The lane under the notes is velocity — drag a stem up or down to play that note louder or softer.
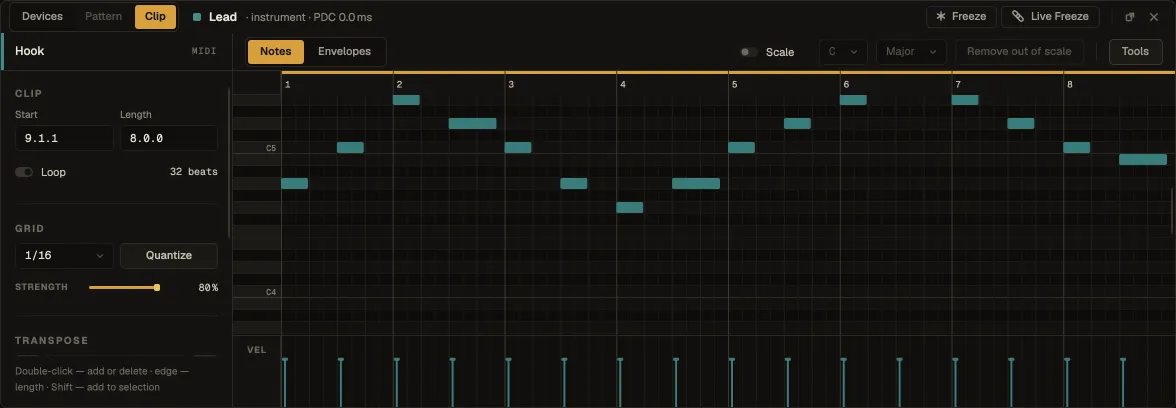
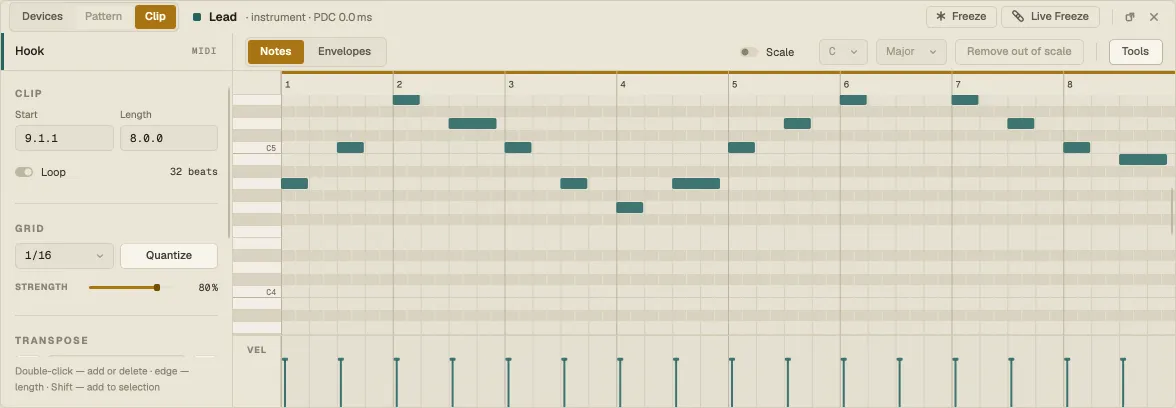
The Grid on the left sets what notes snap to; Quantize pulls the selected notes onto it. With notes selected, the arrow keys move them by the grid (← →) or a semitone (↑ ↓), and ⇧↑ / ⇧↓ move them an octave.
4. Listen in a loop
Section titled “4. Listen in a loop”-
Click the clip on the timeline to select it and press ⌘L — the loop is set to the clip and switched on.
-
Press Space to play, and again to stop. Keep editing notes while it plays — you hear each change straight away.
To make the part longer, select the clip and press ⌘D to put a copy right after it, or drag the clip’s right edge.
5. Add an effect
Section titled “5. Add an effect”-
Keep the Volt track selected and open the Audio effects tab of the browser.
-
Double-click Nota Delay. It appears in the track’s device chain, after Volt.
-
Turn its knobs while the loop plays. Drag a knob up or down; hold ⇧ for fine steps; double-click it to go back to the default.
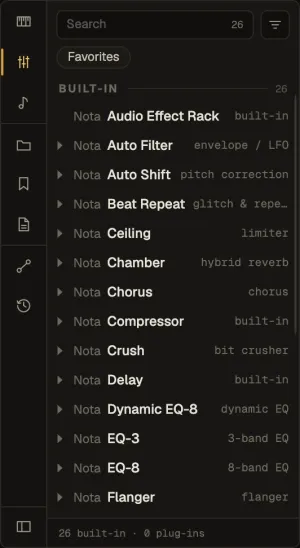
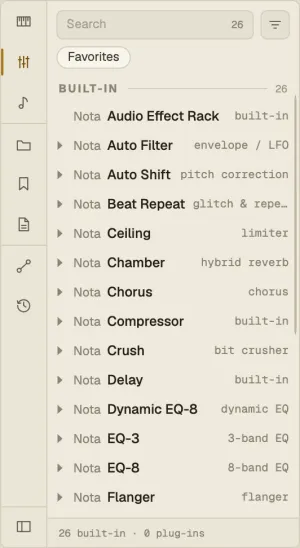
Every device has factory presets — click the preset name in the device’s header to browse them.
6. Save
Section titled “6. Save”Press ⌘S, give the project a name and choose where to put it. Projects saved in
Documents ▸ Nota Projects also show up in the browser’s Projects tab. A project is a
single .nota folder that holds everything it uses, samples included, so you can move or
back it up as one item. Each save also keeps a version you
can go back to.
7. Export a WAV
Section titled “7. Export a WAV”-
Choose File ▸ Export audio… (⌘⇧E).
-
Under Range, keep Loop to export just the loop, or pick Full song.
-
Leave WAV, 48 000 and 24-bit, or change them, and click Export WAV.
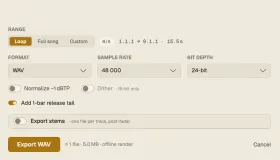
Add 1-bar release tail keeps the delay ringing out after the last note. Export stems writes one file per track instead of the mix. More in Export audio.
Where to go next
Section titled “Where to go next”- The main window — what everything on screen does.
- Arrangement and Session — the two ways to build a song.
- Devices — every instrument and effect in Nota.